
Padel Doubles Positioning: Where to Stand and Why
12 min read
Padel is won and lost on positioning. You can have clean volleys and a solid bandeja, but if you are standing in the wrong place, you will lose to a less skilled team that understands where to be. This guide breaks down the four court zones, explains how to position yourself and your partner in each one, and covers the principles that make top-level pairs look like they share a single brain on court.
If you are new to the sport, start with our beginner’s guide to padel before diving into positioning detail. For the official rules on where players must stand during serve and play, see position of players.
Understanding the Four Court Zones
A padel court is 10 metres wide and 20 metres long, but not all areas are equal. Think of your half of the court as having four distinct depth zones, each with different tactical properties.
The Net Zone
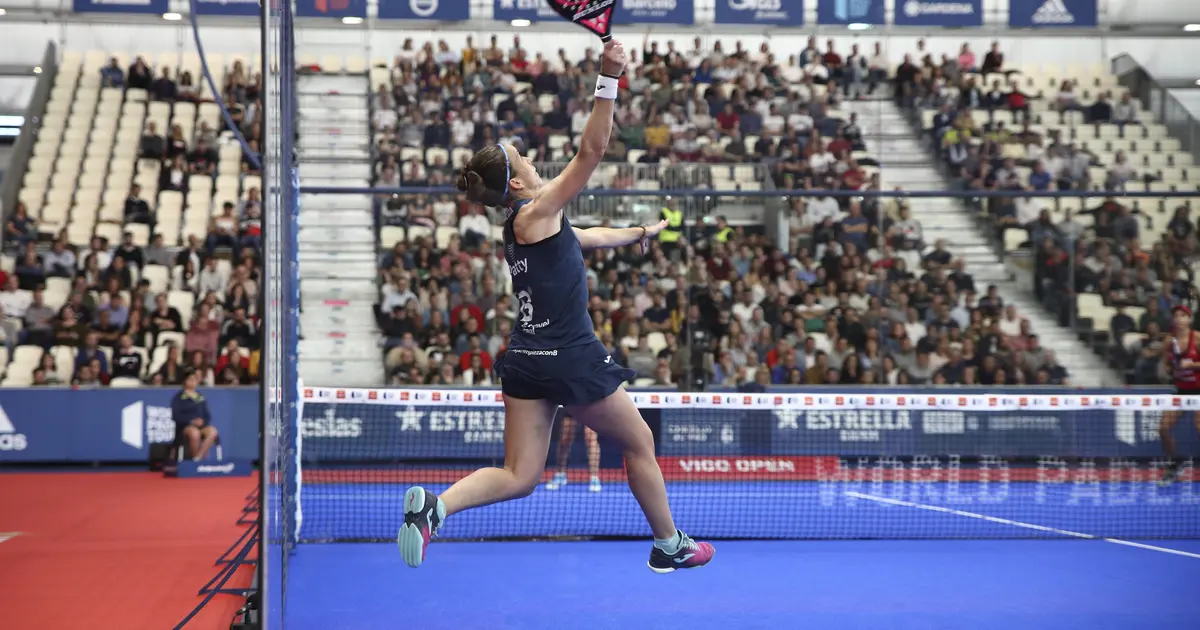
This is the area from the net back to roughly 2-3 metres. Players standing here can volley downward, close off angles, and apply constant pressure. The net zone is where points are finished. Both players should aim to occupy this zone together whenever possible — the team at the net wins the majority of rallies in organised padel.
The T-Zone
The T-zone sits around the service line, where the centre line and service line form a T shape. This is the transition zone and arguably the most strategically valuable area on the court. A player in the T-zone can step forward to volley, retreat to cover a lob, and reach balls on either side. During transitions between defence and attack, the T-zone is where you want to pause and read the situation before committing to the net.
Mid-Court (No Man’s Land)
The area between the service line and roughly 3 metres from the back wall is the most dangerous place to stand. Balls bounce at your feet, you cannot volley comfortably, and you cannot use the back glass to recover. Avoid lingering here. Move through mid-court quickly — either forwards to the net or backwards to the baseline.
The Baseline Zone
The area within 2-3 metres of the back wall is where you defend. Standing here gives you time to read the ball, use the back glass for rebounds, and play lobs to push opponents off the net. It is a reactive position — the goal from the baseline is always to create an opportunity to advance forward.
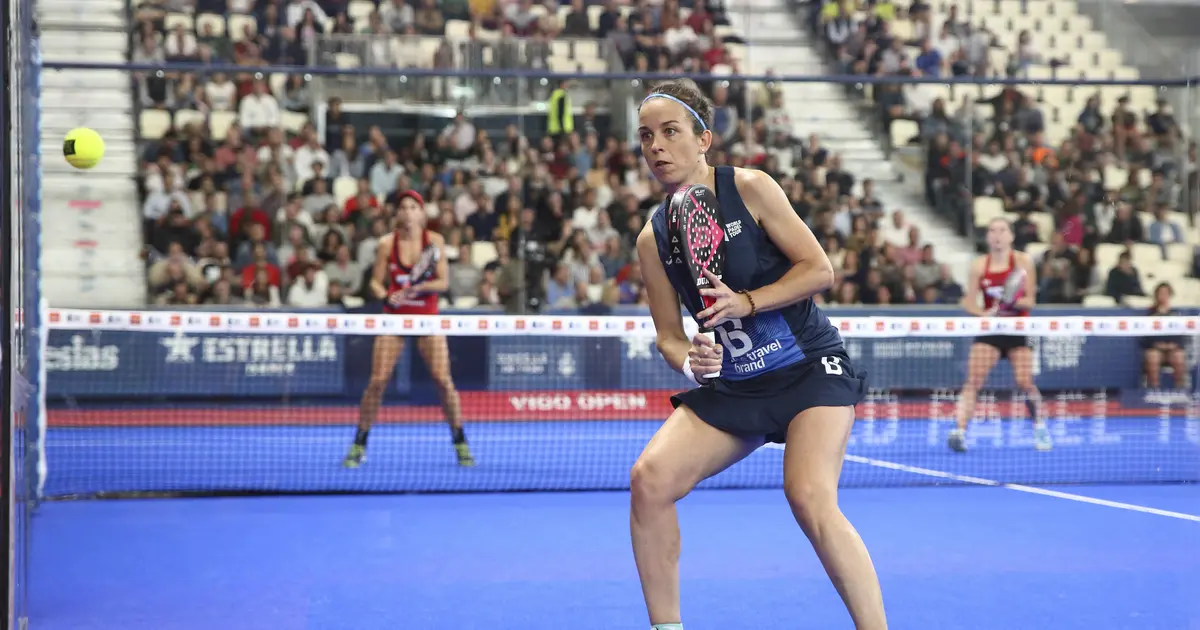
Optimal Net Position
Getting to the net is only half the battle. Where you stand once you are there determines whether you dominate the point or get lobbed into retreat.
Distance from the Net
Stand roughly one large step back from the net — about 1.5 metres. This gives you enough time to react to fast volleys while still being close enough to punch the ball down with authority. If you crowd the net (within arm’s reach), lobs will sail over your head and you will not have time to recover. If you stand too far back (beyond 2 metres), your volleys lose their downward angle and opponents can pass you more easily.
Lateral Placement
Each player should stand slightly toward the centre of their half of the court, not pressed against the side wall. This positioning prioritises covering the middle — the most important corridor on the court. Your outside shoulder should roughly align with the edge of the service box on your side. This way, you cover the centre with a short step and can still reach wide balls with a lunge.
For a deeper look at net technique and shot selection, see our net play strategy guide.
Baseline Defensive Positioning
When your team is pushed back, positioning becomes about survival and recovery.
Depth
Stand close enough to the back wall that you can comfortably play balls off the glass — roughly 1.5 to 2 metres from the back wall. If you stand too far forward, balls that hit the back glass will pass behind you and you will be scrambling. If you stand with your back against the wall, you have no room to swing.
Width
Split the court evenly with your partner, each covering your half. Stay roughly 1-2 metres from the side wall. The centre between you should be no more than a racket-length gap. From here, you can cover lobs, low drives, and angled shots without leaving massive holes.
Defensive Priorities
From the baseline, your job is to stay in the point and find a way forward. Use deep lobs to push the net team back, play low balls through the centre to force awkward volleys, and wait for a short ball that lets both of you advance. For a full breakdown of defensive shot selection and patterns, see defensive tactics.
Moving as a Unit: The Rope Concept
The single most important positioning principle in padel doubles is this: move together. Imagine an invisible rope connecting you and your partner. When one player moves left, the other shifts left. When one advances, the other advances. When one retreats, the other retreats.
Why Splitting Is Deadly
A one-up-one-back formation — one player at the net, one at the baseline — creates a wide-open channel through the middle of the court. Opponents at the net can volley straight down this channel, and neither player can cover it. In tennis, one-up-one-back works because the court is larger and the ball travels faster. In padel, the enclosed court and slower ball speed mean that a split formation is consistently punished.
Maintaining Spacing
Partners should stay roughly 3-4 metres apart at all times. This distance covers the full width of the court without leaving gaps. If you drift too close together, the sides open up. If you drift too far apart, the centre becomes a highway for opponents’ shots.
Practise the rope concept in warm-up rallies. Have one player call out their movement — “moving left,” “coming forward” — and the other mirrors. Over time, it becomes automatic. Good partner communication is what turns two individuals into a functioning pair.
Adjusting Position Based on the Ball
Your positioning should not be static. It shifts constantly based on where the ball is and who is about to hit it.
Ball on Your Side
When the ball is heading to your side of the court, you prepare to play it while your partner shifts slightly toward the centre. This covers the most likely return angles. Your partner should be ready to intercept anything aimed through the middle.
Ball on the Opposite Side
When the ball is on your partner’s side, slide toward the centre. You are now the cover player, responsible for anything your partner cannot reach. Do not watch passively — active repositioning during your partner’s shot is what separates good pairs from average ones.
Ball Deep (Opponent at Baseline)
When you have pushed opponents deep with a good volley or overhead, you can afford to take a half-step closer to the net. They are further from the net and have fewer angles available, so you tighten your position to cut off more of the court.
Ball Short (Opponent Approaching)
When opponents are advancing toward the net after a good lob or return, back up slightly to give yourself more reaction time. If their approach shot is strong enough, you may need to retreat to the baseline with your partner.
The Centre Theory: Why Controlling the Middle Wins Points
Professional padel is built on a simple truth: the centre of the court is the most important corridor. Shots directed down the middle create problems that wide shots do not.
Why the Centre Works
- Confusion between partners. A ball hit down the middle forces both opponents to decide who takes it. This hesitation — even a fraction of a second — leads to errors, weak returns, or missed shots entirely.
- Reduced angles. When you play down the middle, the return can only come back at a narrow range of angles. When you play wide, you open the court and give opponents the entire opposite side to aim at.
- Higher net clearance. The net is lowest at the centre (88 cm) and highest at the posts (92 cm). Hitting through the middle gives you more margin for error.
Applying Centre Theory
At the net, direct the majority of your volleys down the centre line between opponents. Resist the temptation to go for flashy wide-angle winners — they look impressive but carry higher risk. The disciplined pair that hammers the middle will win more points than the pair that constantly goes for the lines.
This principle applies from the baseline too. Low, fast balls through the centre are harder for net players to volley cleanly than angled shots that give them time to set up. For a broader look at how to build points in doubles, see doubles tactics.
When and How to Rotate Positions
Rotation happens when partners switch sides during a rally. It is not something to do constantly, but there are specific situations where it is necessary and effective.
After a Cross-Court Lob
If you lob cross-court from the baseline, the ball travels diagonally across the court. Both opponents must shift to cover the new ball position. At the same time, you and your partner should rotate — the player who lobbed moves to the opposite side, and the partner shifts across to fill the gap. This keeps your court coverage balanced after the ball changes direction.
After a Poach at the Net
If the net player crosses to intercept a ball on the partner’s side (a poach), the partner must immediately rotate to cover the vacated side. This switch should be automatic and pre-agreed — hesitation leaves one side of the court completely open. At higher levels, pairs use hand signals behind the back to indicate when a poach is coming.
When Not to Rotate
Do not rotate unnecessarily. If you are both in good position and the ball stays on the same side, stay put. Rotation introduces risk — if one player moves and the other does not read the situation, you end up with both players on the same side. Only rotate when the ball position clearly demands it.
Common Positioning Errors and How to Fix Them
Even experienced players fall into positioning traps. Here are the most frequent mistakes and their corrections.
Standing Too Close to the Net
The problem: You get lobbed constantly and spend the entire match turning around to chase balls.
The fix: Move back to roughly 1.5 metres from the net. You lose a small amount of volley angle but gain the ability to cover lobs with a quick retreat. The T-zone becomes reachable in one or two steps.
One-Up-One-Back Formation
The problem: One player stays at the net while the partner is stuck at the baseline. The centre of the court is a free target for opponents.
The fix: Commit to moving together. If your partner is forced back, you drop back too — at least to the T-zone. If you lob well and your partner advances, you advance with them. This is the most common mistake in recreational padel and the easiest one to correct.
Drifting to the Side Walls
The problem: Both players hug their respective side walls, leaving a wide-open gap down the centre.
The fix: Shift inward. Your default position should favour the centre of your half, not the edge. If a ball goes wide, you can lunge or take a step to cover it. Recovering from a wide position toward the centre is much harder than covering a wide ball from a central starting point.
Static Positioning
The problem: You find a spot and stay there regardless of what is happening in the rally. The ball moves but you do not.
The fix: Adopt a split-step rhythm. Every time your opponent is about to make contact with the ball, perform a small hop to get on your toes. This keeps your weight neutral and makes it easier to move in any direction. Position is not a place — it is a constant adjustment.
Retreating One at a Time
The problem: A lob beats one player, who retreats alone while the partner stays at the net. The team is now split.
The fix: When a lob beats your partner, both of you drop back. Yes, you lose the net position. But maintaining the unit is more valuable than one player clinging to the net while the other defends alone. You can always advance together again on the next opportunity.
Putting It All Together
Good positioning in padel comes down to a handful of principles applied consistently:
- Both players in the same zone — net together or baseline together, never split.
- Favour the centre — stand slightly toward the middle of your half, and direct most shots down the middle.
- Move with the ball — adjust your depth and lateral position on every shot, not just your own.
- Use the T-zone as a waypoint — when transitioning between baseline and net, pause at the service line to read the play before committing forward.
- Communicate constantly — call the ball, signal your intentions, and tell your partner when you are moving.
These are not advanced concepts reserved for professionals. They are the foundation of every good padel pair, from club level upward. Master them, and you will win more points without hitting a single ball harder.
For more on building your overall doubles game, see our doubles tactics guide. If you are working on your serve positioning specifically, check out serve rules for the official regulations on where to stand during the serve.
Stay in the loop
Get padel rule updates and tournament news — no spam.
More in Strategy & Tactics
10 Most Common Padel Mistakes — And How to Fix Them
Avoid the 10 most common padel mistakes that beginners and intermediate players make — from hitting too hard off the walls to poor net positioning — with practical fixes for each.
Defensive Padel Play — Glass Walls, Lob Defence & Resetting Points
Master defensive padel tactics including glass wall play, lob defence, and how to reset points when your opponents control the net.

Dominating the Net in Padel — Volley Positioning, Poaching & Overhead Coverage
Learn how to dominate the net in padel with proper volley positioning, when to poach, overhead coverage, and how to maintain net control throughout.
Padel Attack vs. Defence — When to Go for the Winner
Learn the decision-making framework behind padel tactics strategy — when to attack, when to defend, how to read transition moments, and why patience wins more points than aggression.